
The Silent Fear of Every Website Owner: The Migration Trap
A few years ago, I hit the migrate button on my first big blog without a real plan, and my traffic fell off a cliff the next morning. I watched my Google analytics screen go flat, and my heart sank as I realized I had broken my database connections. It took me a week of sleepless nights to fix my mistakes and get my readers back. I wrote this guide so you never have to feel that helpless panic that I went through.
Imagine spending months writing articles, optimizing images, and building your audience. Your daily traffic is climbing, and your Google search positions are solid. Then, you realize your current hosting server is too slow, and you need to move.
Suddenly, panic sets in. You hear horror stories of bloggers who moved to a different server and lost eighty percent of their Google traffic overnight [3]. You worry about broken links, missing database tables, and the dreaded white screen of death.
It is a terrifying feeling to realize that one simple mistake during a server transfer can ruin all your hard work. Most people delay moving their website because they fear this exact disaster. They stay with slow, unreliable hosting providers just to keep their current traffic safe.
But you do not have to live in fear of a server move. Moving your website can actually be a smooth and safe process. If you follow the right steps, you can transfer every single file and database entry without your visitors ever noticing a difference.
Let us look at a simple, step-by-step method to move your site with zero downtime. You will learn how to keep your SEO rankings safe and ensure your database transfers perfectly.
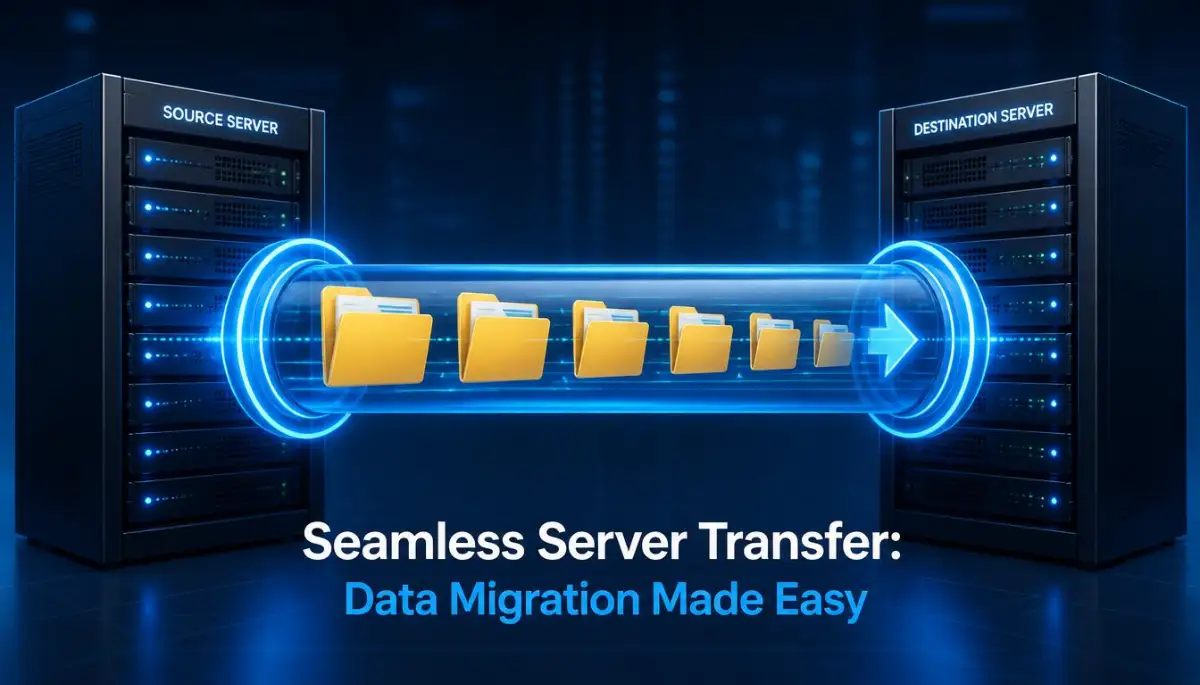
Setting the Stage: Preparing for a Flawless Server Transition
Before you move a single file, you must prepare your digital environment. Think of website migration like moving to a new house. You would not throw your clothes into a truck without packing them into boxes first.
The prep work is where most people fail. They rush into the transfer and forget to take basic precautions. To avoid this, we need to create a clear plan.
The Magic Checklist: What to Collect Before You Begin
You need to gather all your login details in one place. Make sure you have active admin access to your current hosting account, your domain registrar, and your new hosting panel.
Keep a text file open on your computer to copy down usernames, passwords, and IP addresses. Having this information ready prevents frustration later. It also keeps you organized when you are working inside complex server panels.
The Golden Rule: Backing Up Every Single File
You must never start a migration without a fresh backup. Do not rely on your host's automatic backups. Create your own manually so you have full control over the files.
You need two things: a complete copy of your public_html folder and a fresh export of your SQL database. If anything goes wrong, these two items will save your business.
To make things easy, here is a quick comparison of the two main backup routes you can take:
Extracting and Packaging Your WordPress Files
Now that you have your backups, it is time to package your files. We will start by compressing all your website files on your old server.
Log into your current hosting control panel and open the File Manager. Navigate to the folder where your site is installed, which is usually named public_html.
Compressing Files for Fast Transfer
Select all the files and folders inside your directory. Click the Compress button in your file manager and choose the Zip Archive option.
This process groups thousands of individual files into one single zip file. Transferring one large zip file is much faster than transferring thousands of tiny files over FTP. Once the compression is finished, download the zip file to your local computer.
Exporting Your Database with phpMyAdmin
Your files are only half of your website. Your database contains all your actual posts, pages, comments, and site settings.
To export it, locate the phpMyAdmin tool inside your old hosting control panel. Select your website's database from the left-hand menu.
Click on the Export tab at the top of the screen. Keep the export method set to Quick and the format set to SQL, then click the Go button. Save this SQL file in the same folder where you saved your website zip archive.
Setting Up Your New Server Environment
With your website files safely stored on your computer, you can prepare your new hosting space. Log into your new hosting account and add your domain name to the system.
Uploading and Extracting Your Zip File
Open the File Manager on your new host and go to the empty public_html folder. Click the Upload button and select the website zip file you downloaded earlier.
Once the upload is complete, select the zip file and click Extract. Your new server will quickly unpack all your folders and files into their proper places.
Importing Your SQL Database
Now, open phpMyAdmin on your new host. Select the empty database you created just a moment ago.
Click the Import tab at the top of the page. Click Choose File and select the SQL database file from your computer.
Leave the settings at their default values and click the Go button at the bottom. Your database tables will upload and install themselves automatically.
Rebuilding the Bridge: Connecting Files to Your New Database
Your files and database are now sitting on the new server, but they cannot talk to each other yet. You must update your configuration settings to connect them.
Editing the wp-config.php File
Inside the file manager of your new host, find the file named wp-config.php. Right-click the file and choose the Edit option.
Look for the database settings section. You will see lines for the database name, database user, and database password.
Replace the old values with the new database details you saved in your text file. Save the changes and close the editor.
Testing Your Migrated Website Before Changing Your DNS
This is the most critical step to avoid losing traffic. You must test your website on the new server before you tell the rest of the world to look there.
If you skip this, you might point your domain to a broken site, resulting in instant downtime. We will use a clever trick to test your site using your computer's hosts file.
What is a Hosts File?
Your computer uses a local file called the hosts file to translate domain names into IP addresses before asking public DNS servers. By editing this file, you can trick your personal computer into loading your website from the new server, while the rest of the internet still loads it from the old server.
First, find the IP address of your new server. You can find this in your new hosting welcome email or control panel dashboard.
Visual learner? Watch this quick, easy-to-follow video demonstration showing exactly how to edit your hosts file on Windows or Mac to test your new server safely!
Editing the Hosts File on a Mac
Open the Terminal application. Type the following command and press enter: Type your Mac password when prompted. Use your arrow keys to go to the bottom of the file and add your new IP address and domain name just like the Windows example. Press Control + O to save, then Control + X to exit.
Verifying Your New Server Works
Open your web browser and clear your browser cache. Visit your website.
You are now looking at the version of your site that is hosted on the new server. Browse through your pages, click on your articles, and try logging into your admin dashboard.
If everything loads fast and looks correct, your migration is a success. Once you are done testing, remember to go back to your hosts file and delete those custom lines you added.
In the next part of this guide, we will cover how to safely update your DNS records to point everyone to the new server, monitor your traffic for any drops, and safely shut down your old hosting account.
Master the Final Leap: Advanced DNS Routing and Post-Migration Polish
Once you verify that your website works perfectly on the new server, you are ready for the final transfer phases. This is where we safely update your Domain Name System (DNS) records to point all internet traffic to your new home.
If you configure your DNS records correctly, your audience will transition to the new server without realizing a change occurred. Let us explore the advanced methods used by hosting experts to guarantee a seamless handoff.
Shifting Your DNS Records Safely
Your domain name acts like a digital address book pointing to your specific hosting server. To direct your readers to the new server, you must update the A Record in your domain registrar account.
An A Record maps your domain name directly to your new server's numeric IP address. Log into the account where you purchased your domain, locate the DNS Management panel, and find your primary A Record.
Replace the old IP address with your new server IP address. If you use a custom security firewall, you can read the official guidelines on secure web routing at IETF RFCs to understand how data packets navigate these shifts.
The Magic of DNS TTL Settings
Most website owners do not realize that they can control how fast their DNS updates spread across the globe. This control comes down to a setting called Time to Live (TTL).
The TTL value tells web browsers how long to cache your domain's server location before asking for an update. If your TTL is set to 24 hours, some users will keep visiting your old server for a full day after your move.
To prevent this lag, log into your DNS settings two days before your migration and lower your TTL value to 300 seconds (5 minutes).
In my early days, I used to ignore the TTL settings entirely because I thought they did not matter. But after seeing my website split between two different servers for three days, I realized how important this step is. Now, I always set my TTL to five minutes a couple of days before the move, and the transition happens almost instantly. This adjustment forces browsers to check for your new server IP address almost instantly, eliminating long propagation delays.
Synchronizing Your Professional Emails
A common oversight during website moves is forgetting about custom email addresses. If your business emails run through your hosting account, they will stop working the moment you change your DNS.
To keep your inbox active, you must copy all your custom MX Records from your old host to your new hosting DNS panel. If you use external email hosts like Google Workspace or Microsoft 365, your email traffic will remain unaffected as long as those specific MX records are preserved.
Double-check these settings before you hit save on your domain registrar. Missing a single character in your mail exchange records can cause your business emails to bounce back as undeliverable.
Running a Business Post-Migration
As a business owner, managing your tech stack efficiently is just as key as understanding smart tax deductions for home-based solopreneurs to keep your operation lean and highly profitable. Taking your time with these advanced server configurations saves you from losing valuable sales leads and customer messages.
Do not let technical issues push you to your physical or mental limit. Technical hurdles during a migration can cause immense stress, similar to the pressure students face when trying to find overcoming college burnout. Take a deep breath, follow each technical step methodically, and protect your peace of mind.
Clearing the Global Cache
After updating your DNS, you want to clear any cached data remaining in your network pathways. You can speed up your own computer's local check by clearing your operating system's DNS cache.
On Windows, open your command prompt and type ipconfig /flushdns to clear the old server pathways. On a Mac, use your terminal to run the cache flush command matching your operating system version.
Additionally, you can use online DNS checkers to track how your new IP address is propagating across different countries in real time. This gives you absolute certainty that the transition is progressing smoothly everywhere.

The Costly Roadblocks: Silent Migration Mistakes That Destroy Search Visibility
Even with a detailed plan, minor mistakes during a migration can cause severe damage to your search traffic. These errors are often invisible at first glance, but they can slowly degrade your keyword rankings over time.
Let us explore the most common pitfalls that website owners encounter during a host transfer. Knowing these traps will help you avoid them completely.
Deleting the Old Server Too Quickly
One of the most dangerous mistakes is canceling your old hosting plan immediately after changing your DNS records. DNS changes take time to reach every internet service provider around the globe.
If you cancel your old host on day one, some of your international visitors will try to access your site and find a blank page. Keep your old hosting account active and untouched for at least seven full days after the move.
This window ensures that even the slowest networks have successfully routed their users to your new server. Only shut down your old account when you see zero active traffic hitting the old server logs.
Ignoring Crawler Blockers on Staging Sites
If you build a staging copy of your website on your new host to test it, you must ensure search engines cannot index it. Many owners forget to block search bots from crawling their test environments.
This mistake leads to Google indexing two identical versions of your website simultaneously. Your search rankings can drop rapidly due to automated duplicate content penalties.
Always keep your staging site hidden behind a password or use your robots.txt file to block search engine access. For official advice on managing search engine visibility during technical shifts, read the indexing guides provided by the Google Search Console Help Center.
Letting Broken Internal Links Slip Through
Sometimes, during a migration, absolute URL paths can get slightly altered, especially if you change your domain structure. This can lead to broken images, inactive internal links, and broken stylesheet files.
Run an automated link checker across your newly migrated website to find any 404 errors. Correcting these broken internal pathways immediately helps maintain your site's authority and keeps your user experience clean.
Forgetting to Configure Your Security Rules
Your old host might have had custom firewall rules, IP blocks, or spam filters configured over several years. When you move to a new server, you start with a blank security slate.
If you do not recreate your security configurations, your website might experience an influx of spam comments or brute-force login attempts. Take the time to install your security plugins and set up your traffic rules on your new home right away.
Your Next Chapter: Taking Action on a Faster, Safer Server
Moving your website to a new hosting provider is a major milestone for your online business. It is the digital equivalent of upgrading your physical storefront to a better, more accessible location.
By taking a methodical approach to this technical task, you prove that you can manage your digital assets like an expert. You no longer have to feel held back by slow loading speeds or unreliable hosting support teams.
Your Immediate Action Plan
Now that you have the knowledge, it is time to put these steps into motion. Follow this checklist to ensure you do not miss a single detail during your move:
- Manually download a full zip backup of your public directory.
- Export your current database as an SQL file using your hosting panel.
- Lower your DNS TTL settings to 300 seconds two days before the transfer.
- Build your new database and update your configuration files carefully.
- Use your computer's hosts file to run complete tests on the new server.
- Point your domain's A Record to your new server IP address.
- Keep your old server active for at least seven days to monitor traffic transition.
Embracing the Rewards of a Successful Move
A faster, more stable server will reward your efforts with improved user metrics and better search engine crawl efficiency. Your pages will load faster for your readers, which directly improves your bounce rate and increases your ad revenue potential.
Take control of your web presence today. Start your preparation steps, secure your backups, and execute your migration with absolute confidence.
I know server moves feel scary, but taking control of your site’s hosting is the best decision you can make for your growth. Every time I moved my blogs to a faster server, my traffic and ad revenue went up, and yours will too. Do not wait for your old, slow host to crash your site—take the first step and back up your files today.
Google AdSense Policy & Social Media Disclaimer
Disclaimer: This article is written for educational and informational purposes only to help website administrators understand the process of website migration. Website migrations involve technical changes to servers and DNS settings. While we make every effort to provide accurate guidelines, always consult with your specific hosting provider's support team before making major configuration changes to avoid data loss or prolonged site downtime. All mentioned tools, plugins, and methods should be tested in a safe environment first.