The Secret Worry Every New Parent Carries
Let’s be real for a second. Standing in your kitchen at 2 AM, staring at a pile of dirty baby bottles, is enough to make any parent feel overwhelmed. You want everything to be perfect for your little one, but you're also exhausted. I've been there, and I know that nagging fear that you're missing a spot or doing it wrong. Let’s cut through the noise and show you exactly how to get those bottles safe and clean without losing your mind.
I felt like a failure because I didn't know if I should boil them or just use soap. My hands were shaking as I turned on the stove. I was so tired, yet I couldn't stop worrying if the plastic would melt or the glass would crack. It felt like a mountain I couldn't climb.
This is the hidden struggle that nobody tells you about when you become a parent. You want everything to be perfect for your little one. You want them to stay healthy and strong. But the simple act of cleaning a bottle feels like a high-stakes science experiment.
Is the old-fashioned way still the best? You see all these different types of glass and plastic, and the rules seem to change for each one.
This constant doubt eats away at your peace of mind. You spend your limited "free time" scrubbing and boiling instead of sleeping. Your back hurts from leaning over the sink. Your skin gets dry from the hot water and harsh soaps.
It is more than just a chore; it is a heavy emotional weight. You feel like if you miss one spot, your baby might get sick. That fear is real, and it is exhausting. I have been there, and I know exactly how much it drains your soul.
We all just want a clear path to follow. We want to know that when we feed our baby, the bottle is 100% safe. We want to move past the stress and get back to those sweet, quiet moments of bonding. Let’s talk about how we can make this process easy and stress-free for you.
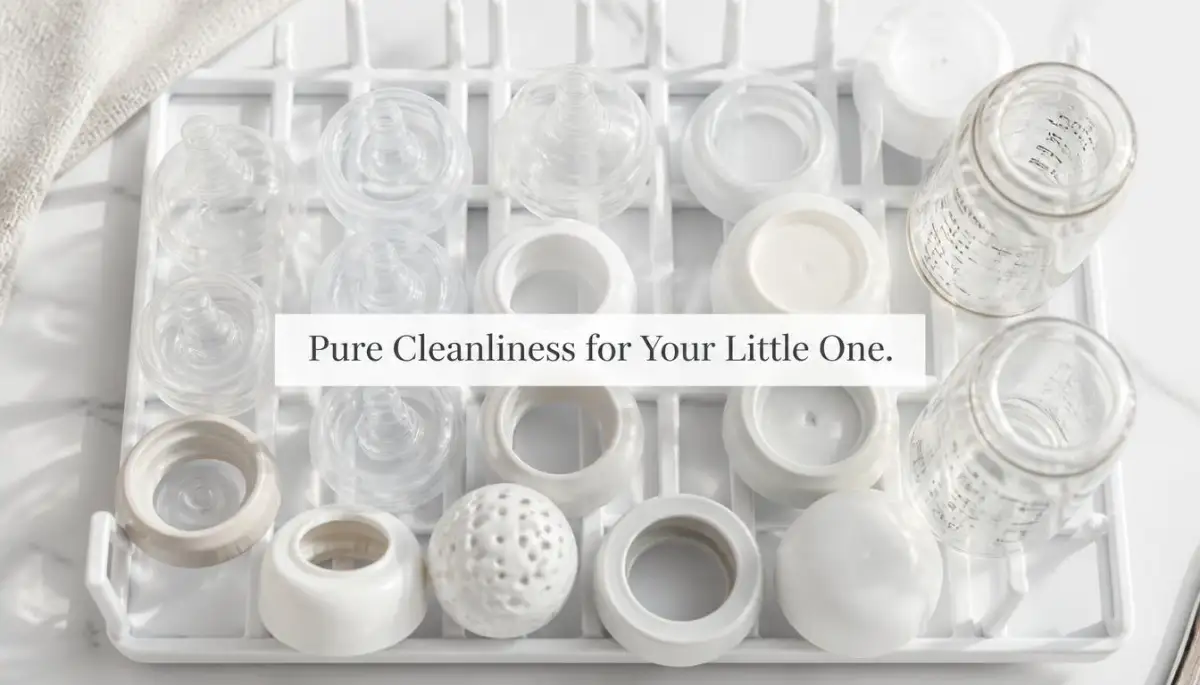
Why Simple Washing Is Not Enough for Your Baby
A lot of people think that a quick rinse with warm soapy water is plenty. I used to think the same thing until I talked to a pediatric nurse. She explained that milk is the perfect place for bacteria to grow. Tiny germs can hide in the scratches of plastic or the rim of a glass bottle.
The "Safe Bottle" Cheat Sheet
Before we dive into the details, here are the big things you need to know:
- Scrub first, heat second: Soap and a brush remove the milk film, but only heat or chemicals kill the invisible germs.
- Air dry only: Never use a dish towel; it’s basically a blanket of bacteria for your clean bottles.
- Glass needs care: Put glass bottles in lukewarm water and let them heat up slowly to avoid cracks.
- Sterilize daily: If your baby is under 3 months old, try to do this once every 24 hours.
Your baby’s immune system is still learning how to fight off bad guys. Even a small amount of leftover milk can cause a tummy upset or worse. Sterilizing is that extra layer of protection that keeps those germs away. It uses heat or safe chemicals to kill what soap might miss.
| Method | Best For | Time Needed | My Personal Rating |
| :--- | :--- | :--- | :--- |
| Boiling Water | Glass & Metal | 10 Minutes | 4/5 (Great for Budget) |
| Electric Steam | Plastic & Daily Use | 6-12 Minutes | 5/5 (Fastest & Easiest) |
| Cold Water | Travel & Outdoors | 30 Minutes | 3/5 (Smells a bit like pool water) |
| Microwave Steam | Small Kitchens | 2-4 Minutes | 4/5 (Super Convenient) |
Getting Ready for the Big Clean
Before you even think about heat, you have to do some prep work. I always start by washing my own hands very well. There is no point in cleaning a bottle if your hands are bringing new germs to the party. Use a simple soap and scrub for at least twenty seconds.
Next, you need to take every single bottle apart. Do not leave the nipple in the ring or the cap on the bottle. If you leave them together, milk trapped in the seals won't get cleaned out. I like to keep a small bowl nearby to hold all the tiny parts so they don't fall down the drain.
Now, give everything a good wash in warm, soapy water. Use a dedicated bottle brush that reaches the very bottom. For the nipples, use a smaller brush to make sure the hole is clear. Once they look clean, rinse them under running water to get rid of all the suds.
The Classic Art of Boiling Water
This is the method my grandmother used, and it still works great today. It is perfect because you don't need to buy any fancy gadgets. All you need is a big pot and some clean water. This works well for both glass and plastic bottles, but you have to be careful.
Fill your pot with enough water to cover everything completely. Put the pot on the stove and bring it to a rolling boil. Once the bubbles are big and loud, you are ready to start.
Carefully place the bottles and parts into the water. I use a pair of clean tongs to avoid any splashes. Make sure there are no air bubbles trapped inside the bottles. They need to be full of boiling water to get truly clean from the inside out.
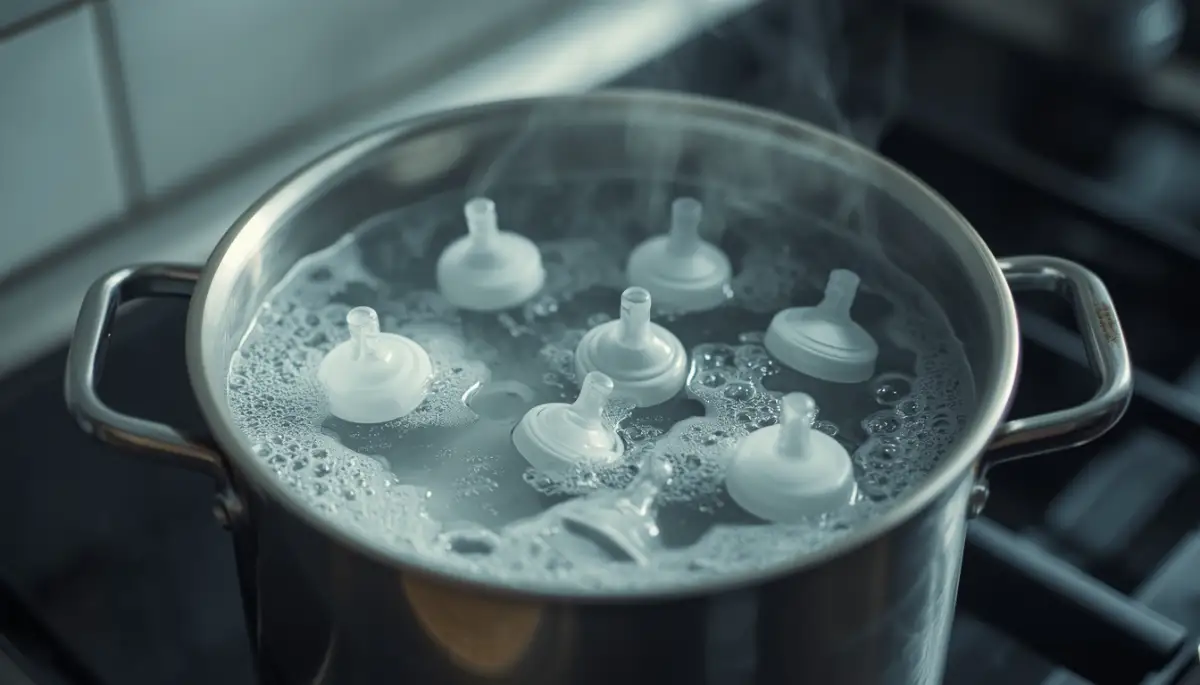
Looking for a visual guide? This video shows exactly how to handle your bottles without making a mess or burning your hands.
Check out this helpful demonstration to see the boiling method in action and learn a few extra tricks for safety.
Special Care for Glass Bottles
Glass is wonderful because it doesn't scratch easily and it lasts a long time. However, glass hates sudden changes in temperature. If you drop a cold glass bottle into boiling water, it might shatter. I learned this the hard way and spent an hour cleaning up tiny shards.
To avoid this, I always put my glass bottles in the water while it is still lukewarm. Let the water and the glass heat up together. This protects the bottle and keeps you safe from flying glass. Once the water starts boiling, set a timer for at least five to ten minutes.
After the time is up, use your tongs to lift them out. Place them on a clean, dry towel or a dedicated drying rack. Do not touch the tops of the bottles with your bare hands. Let them air dry naturally in a spot away from dust or kitchen grease.
Mastering Plastic Bottle Safety
Plastic bottles are light and easy to carry, but they need a different kind of love. You must make sure your plastic bottles are "BPA-free." Most modern bottles are, but it is always good to check the label. High heat can sometimes cause old or cheap plastic to break down.
When boiling plastic, make sure the bottles do not touch the bottom of the pot. The metal at the bottom gets much hotter than the water itself. If the plastic sits on that hot metal, it might melt or warp. I usually keep the lid off the pot so I can keep an eye on them.
Plastic parts like nipples and rings usually only need about five minutes in the water. They are smaller and heat up very fast. If you leave them in too long, the rubber can get sticky or weak. Always check the nipples for any cracks or holes after they have cooled down.
Quick Checklist: Is it time to toss your plastic bottle?
- The Cloudiness Test: If the plastic looks milky or cloudy even after washing, it's time for a new one.
- The Scratch Check: Tiny scratches inside the bottle are playgrounds for bacteria. If you see deep scratches, throw it out.
- The Sticky Nipple: If the nipple feels sticky or looks thin when you stretch it, it’s a safety hazard. Replace it immediately.Quick Checklist: Is it time to toss your plastic bottle?
- The Cloudiness Test: If the plastic looks milky or cloudy even after washing, it's time for a new one.
- The Scratch Check: Tiny scratches inside the bottle are playgrounds for bacteria. If you see deep scratches, throw it out.
- The Sticky Nipple: If the nipple feels sticky or looks thin when you stretch it, it’s a safety hazard. Replace it immediately.
Using the Power of Steam
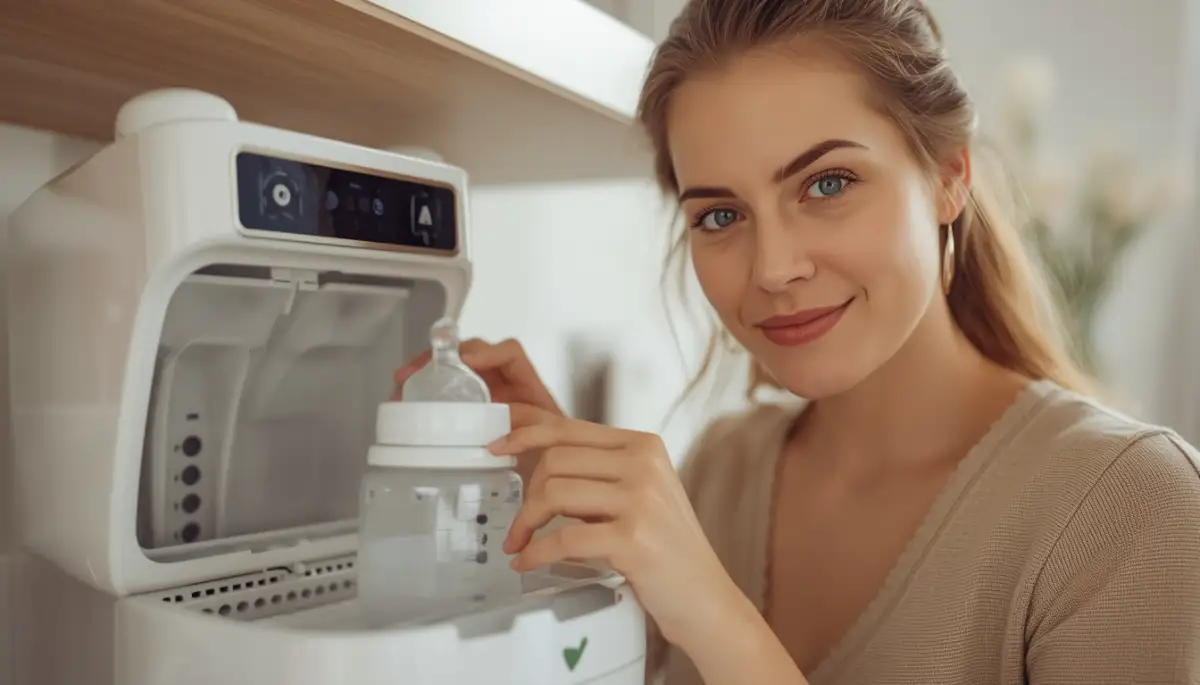
Steam is a very fast way to kill germs. You can use an electric steam sterilizer or a microwave version. These are great if you are busy and don't want to stand over a stove. They work by heating a small amount of water until it turns into a very hot cloud of steam.
For an electric one, you just add the measured amount of water and press a button. The machine does all the work and usually shuts off by itself. For the microwave version, you put the bottles in a special plastic box with a little water. Then you heat it for a few minutes.
I found that steam is much gentler on plastic bottles than boiling water is. It doesn't cause as much wear and tear over time. Just be very careful when you open the lid. That steam is hot enough to cause a nasty burn, so always wait a minute for it to cool down.
The Cold Water Method
Sometimes you might be traveling or in a place where you can't boil water. This is where cold water sterilization comes in handy. You use special tablets or liquid that you mix with cold tap water. This creates a solution that kills bacteria without any heat.
You need a large plastic container with a lid. Fill it with water and dissolve the tablet as the package tells you. Submerge all your bottles and parts completely. You usually have to leave them in there for about thirty minutes.
One thing I like about this method is that the solution stays active for 24 hours. You can keep adding bottles to it throughout the day. However, some parents don't like the slight smell of chlorine it leaves behind. If the smell bothers you, just rinse the bottle with a little cooled, boiled water before use.
My Personal Pro Tip for Busy Days
I used to make a big mistake when I started out. I would wash a bottle, sterilize it, and then leave it sitting on the counter for hours. I realized that dust and kitchen germs were landing right back on the clean bottles.
Now, I always make sure the bottles are completely dry before I put them away. If they stay damp, it can actually encourage mold to grow in the tiny corners. I also keep a clean plastic container with a lid just for my sterilized gear. Once they are dry, they go straight into that box to stay "hospital clean" until the next feeding.
Drying and Storing Your Bottles
The drying process is just as important as the cleaning itself. Never use a regular kitchen towel to dry your bottles. Those towels often carry bacteria from drying hands or wiping counters. It is much safer to let them air dry on a clean rack.
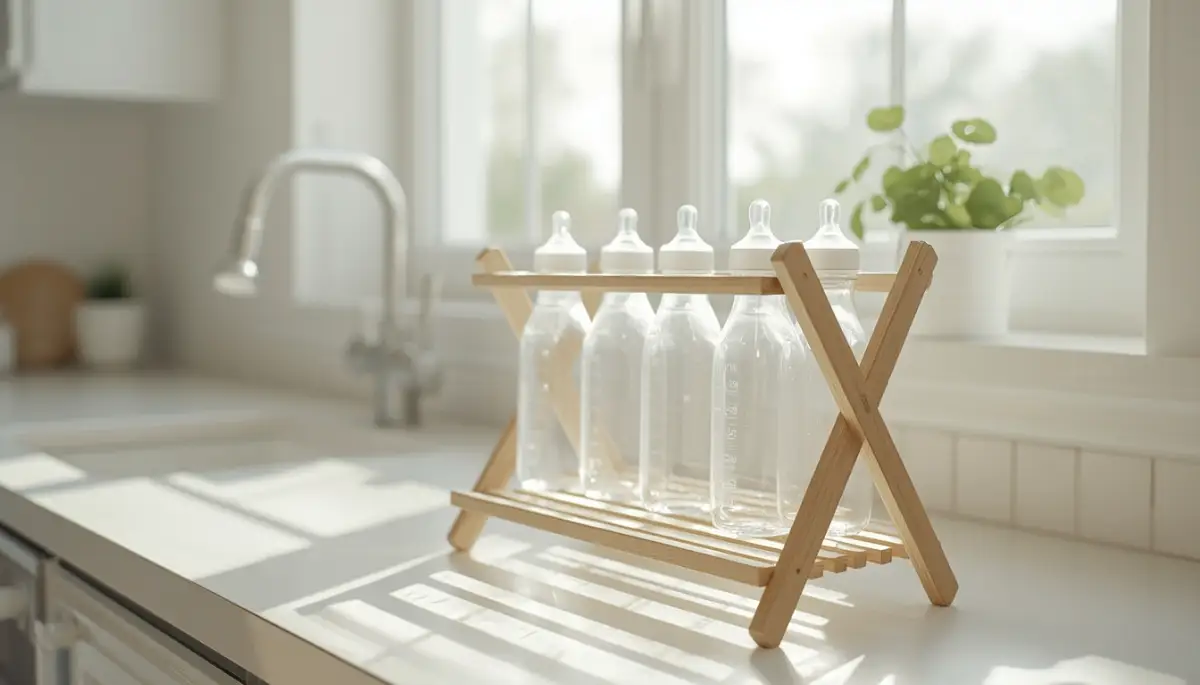
Place the bottles upside down so the water can drain out. Position the nipples and rings so they aren't touching each other. If you have a window in your kitchen, a little bit of sunlight can actually help keep the area fresh. Just make sure the area is clean and free of pets or clutter.
Once everything is bone dry, assemble the bottles with clean hands. Put the caps on to protect the nipples from the air. Store them in a dedicated cupboard or a clean container. This way, when your baby starts crying for food, you can just grab a bottle and go.
How Often Should You Do This?
This is a question I get asked all the time. In the beginning, I sterilized every single time I used a bottle. Most experts suggest doing this daily for the first few months of a baby's life. This is when their systems are the most delicate.
As your baby grows and starts putting everything in their mouth, you might not need to do it as often. Many parents switch to once a week or just use a hot dishwasher cycle. However, if your baby was born early or has health issues, you should keep up the daily routine. Always listen to your doctor if they give you specific advice for your child.
Avoiding Common Mistakes
One big mistake is using too much detergent. You think more soap means more clean, but it actually leaves a film on the bottles. This film can taste bad to the baby and might even cause a little tummy trouble. Use a small amount of mild, fragrance-free soap.
Another slip-up is forgetting to clean the bottle brush itself. If your brush is dirty, you are just moving germs around. I like to run my bottle brush through the dishwasher or soak it in boiling water once a week. It keeps the tool as clean as the bottles it is supposed to fix.
Lastly, don't forget the small parts of your breast pump if you use one. Those parts need the same love and care as the bottles. Any surface that touches milk needs to be part of your sterilization routine. It might seem like a lot of work, but once you get a rhythm, it becomes second nature.
Making the Choice: Glass vs. Plastic
Choosing between glass and plastic is a personal journey. Glass is heavier and can break, but it feels very clean and lasts forever. It doesn't hold onto smells or stains from old milk. If you choose glass, look for "borosilicate" glass which is much stronger against heat.
Plastic is great for older babies who want to hold the bottle themselves. It won't break if it gets dropped on the floor. However, plastic can get cloudy over time and might need to be replaced every few months. Both are safe as long as you follow the right sterilization steps for each material.
I used glass at home for the first few months because I loved the feel of it. When we started going to the park or traveling, I switched to plastic for the convenience. You can even mix and match depending on what your day looks like. The most important thing is that the milk inside is safe and the bottle is clean.
Final Thoughts on Baby Safety
Taking care of your baby's bottles is a big job, but you are doing great. It shows how much you care about your little one's health. By following these steps, you are taking the guesswork out of feeding time. You can rest easy knowing that you have done everything possible to keep the germs away.
Remember, you don't need the most expensive equipment to be a great parent. Whether you use a simple pot of boiling water or a high-tech steam machine, the result is the same. A happy, healthy baby and a parent who can finally breathe a sigh of relief. Keep up the amazing work!
Taking Your Bottle Hygiene to the Next Level
Once you have the basics down, you might feel like an expert. But there are small things that can make your life much easier in the long run. I spent months struggling with white spots on my glass bottles before I learned a simple secret.
Those white spots are just minerals from your tap water. They are not dangerous, but they make the bottles look dirty. To fix this, I started adding a tiny splash of white vinegar to my boiling water. It keeps the glass looking clear and shiny like they just came out of the box.
If you want to be extra careful, you can even use distilled water for the final rinse. It has no minerals or chemicals at all. Just like when you are washing rooftop solar panels safely to avoid scratches and streaks, using the right water for your bottles ensures they stay in top shape.
Another big tip is to have a "travel kit" ready at all times. When you are out of the house, you can’t always find a stove to boil water. I keep a few self-sterilizing bags in my diaper bag. You just put the bottle and a little water inside, then pop it in a microwave for three minutes.
Many high-authority health sources, like the Centers for Disease Control and Prevention (CDC), suggest that keeping your cleaning tools separate is a game changer. I never use the same sponge for my coffee mugs and my baby’s bottles. I have a bright blue brush that is only for the baby gear.
This helps me avoid cross-contamination from adult food or raw meat juices. It might seem like a small detail, but it gives me so much peace of mind. You can even find brushes with silicone bristles now. They don't hold onto smells and they dry much faster than regular nylon brushes.
If you find yourself feeling overwhelmed by all these chores, you are not alone. Managing a household while caring for a newborn is a full-time job. Sometimes, you have to find ways to save time without cutting corners on safety. I found that smart budgeting methods for self-employed pros can actually help you afford better tools, like a high-quality electric sterilizer that saves you thirty minutes a day.
When you use an electric sterilizer, make sure you don't overfill it. If you cram too many bottles inside, the steam can't reach every surface. I always leave a little bit of space between each bottle. Think of it like a parking lot; if the cars are too close, you can't open the doors. Steam needs "doors" to get inside the bottles and kill those pesky germs.
Also, think about the air in your kitchen. If you are frying fish or using heavy cleaning sprays, that stuff can land on your drying bottles. I moved my drying rack to a quiet corner away from the stove. This simple move kept my bottles smelling fresh and looking clean for much longer.
Every few weeks, take a close look at the bottle nipples. Even the most expensive ones will wear out eventually. I learned that if a nipple starts to look cloudy or feels sticky, it is time to toss it. Small cracks can hide bacteria that boiling water might not reach. It is better to spend a few dollars on new nipples than to risk a tummy ache for your baby.
If you are a working parent, you might find that you have very little time in the evenings. I started a routine where I do all the bottles at once while listening to a podcast. It makes the time go by faster and ensures I don't miss a single step because I am in a rush.
Using technology safely is also a big part of modern parenting. While you look for tips online, remember to protect your family's data. Learning how to prevent public AI chatbot privacy risks is just as important as keeping your kitchen clean in this digital age.
Mistakes That Can Put Your Baby at Risk
I have seen so many parents make the same mistakes I did in the beginning. One of the most common ones is using a dirty dish towel to dry bottles. Your dish towel might look clean, but it has probably touched your hands, the counter, and maybe even a stray crumb.
When you rub that towel inside a bottle, you are just putting germs back in. It breaks my heart to think of all that hard work being ruined in a second. I always let my bottles air dry naturally. If I am in a huge hurry, I use a fresh piece of paper towel that has been stored in a clean drawer.
Another big mistake is "microwave heating" the bottles without enough water. Some parents think the heat from the microwave kills germs by itself. That is not how it works. You need water to create steam, and it is the steam that kills the bacteria.
If you put a dry plastic bottle in the microwave, you might actually melt it or cause it to release chemicals. This is especially dangerous if the plastic is old. I always check the bottom of my bottles to see if they are microwave-safe before I even try it.
I also want to warn you about the "rinse and go" habit. When you are tired, it is so easy to just rinse a bottle and use it again. But milk proteins are very sticky. They create a thin layer called a biofilm that germs love to live in.
A simple rinse won't break that layer down. You need soap and a good scrub every single time. It might feel like a lot of work when you are exhausted, but it is the only way to be sure. I have sat on the kitchen floor crying because I was so tired, but I still did the scrubbing because my baby's health came first.
You should also be careful about where you store your bottles. I once kept mine in a cupboard right next to the trash can. One day I realized that every time I opened the trash, tiny particles could be floating toward my clean bottles. I moved them immediately to a high shelf on the other side of the room.
If you are dealing with other health worries, like spotting the subtle signs of prediabetes, you already know how important small daily habits are. The same logic applies to bottle safety. One small mistake might not cause a problem today, but doing it every day increases the risk.
Touching the rim of the bottle or the nipple with your bare fingers is another easy mistake. Even if you just washed your hands, your skin has natural oils and tiny bits of dust. I try to only touch the very bottom of the bottle and the outer edge of the ring.
I know it sounds like I am being too careful, but think about how much your baby's body is growing. Their little stomachs are so sensitive. A tiny bit of bacteria that wouldn't bother you could make them very uncomfortable for days.
Some parents also forget to descale their electric sterilizers. If you see a crusty brown or white layer at the bottom of your machine, it isn't working as well as it should. That layer blocks the heat and can even flake off into your bottles. I use a mix of water and lemon juice once a week to keep my machine running perfectly.
Lastly, never leave bottles soaking in water for hours and hours. You might think soaking helps, but standing water is where germs grow the fastest. If you can't clean them right away, just give them a quick rinse to get the bulk of the milk out and leave them dry until you are ready to scrub.
Building a Safer Future for Your Little One
I found that staying calm and organized helped me the most. When I felt rushed, I made mistakes. When I took my time, I felt confident. Being a parent means learning as you go, and it is okay to ask for help or look for better ways to do things.
If you are feeling the physical strain of parenting, like the leg pain from sitting for six hours while nursing or rocking, remember to take care of yourself too. A healthy parent is a happy parent. Your baby needs you to be at your best so you can give them your best.
I want you to feel empowered when you walk into your kitchen tonight. You have the knowledge to keep those bottles germ-free. You know which mistakes to avoid and which secrets to use. You are the expert in your own home, and you are doing an amazing job.
I used to spend so much time worrying if I was doing enough, but then I realized that the love I put into these small tasks is what truly matters. Take a deep breath and know that you have got this under control. My hope is that these tips make your journey a little smoother and your baby a little safer every single day.
Common Questions About Bottle Sterilization
Is it safe to use a dishwasher for all baby bottles?
Most modern glass and plastic bottles are dishwasher safe, but you should always check the manufacturer's label. Use a high-heat cycle and a heated drying setting to help kill germs. Just be sure to place small parts in a basket so they don't fall onto the heating element.
How long do sterilized bottles stay clean?
If you leave the bottles inside a closed electric sterilizer, they usually stay clean for about 24 hours. If you take them out, they should be used or put into a clean, airtight container immediately. Once they are exposed to the air for too long, they can pick up dust and bacteria.
Can I use a regular pot for boiling bottles?
Yes, a regular kitchen pot works perfectly as long as it is clean and large enough to hold all the parts. Just make sure the water completely covers everything and keep an eye on plastic parts so they don't melt against the metal. It is a simple and effective way to keep your baby safe.
Do I need to sterilize bottles after every single use?
For newborns and babies with weak immune systems, it is best to sterilize after every use. As your baby gets older and starts crawling, you might only need to do it once a day or even once a week. Talk to your doctor to see what is best for your specific situation.
Should I worry about the type of soap I use?
It is a good idea to use a mild soap that is free of heavy perfumes and dyes. Some soaps leave a strong smell that can make the milk taste funny to your baby. A gentle, clear dish soap is usually the best choice for keeping things clean without leaving chemicals behind.
Is it okay to sterilize glass and plastic together?
Yes, you can absolutely sterilize them at the same time in the same pot or machine. Just remember that glass stays hot for much longer than plastic does. Be very careful when taking them out so you don't burn your fingers on the glass.
Disclaimer: The information provided in this post is for educational purposes only and does not replace professional medical advice. Always follow the specific instructions provided by your bottle manufacturer and consult with your pediatrician regarding your baby's health and hygiene needs. We are not responsible for any damage or health issues that may arise from improper cleaning techniques.