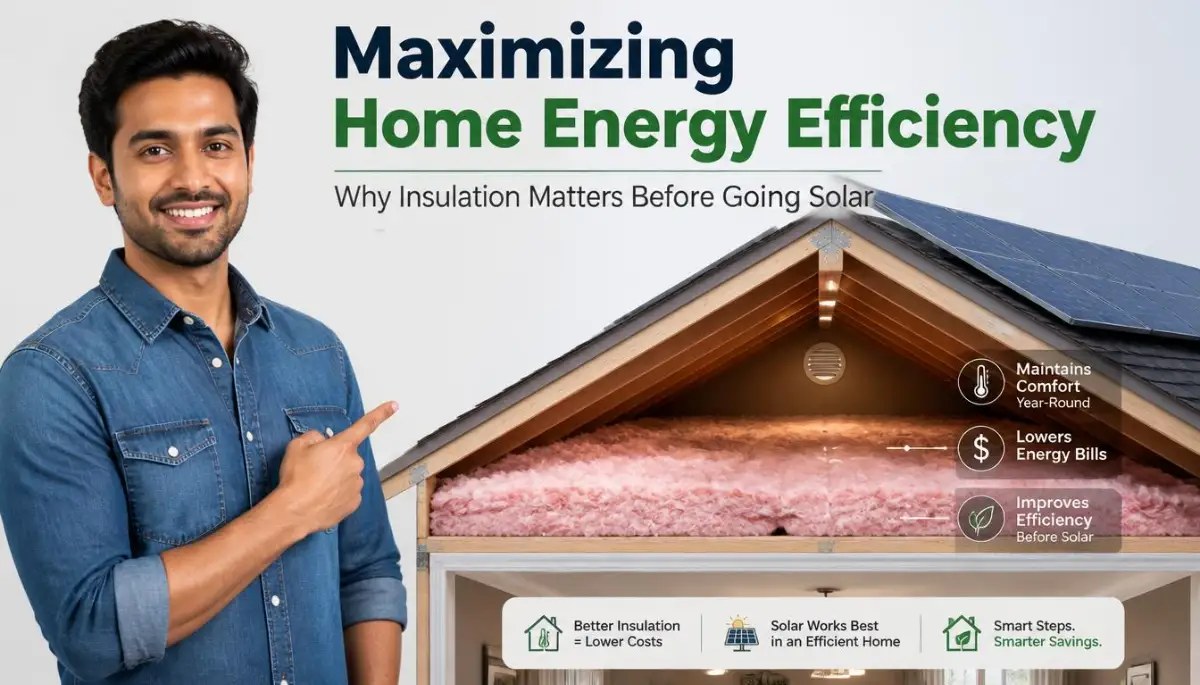
The Drafty Attic Trap: My Expensive Lesson in Solar Sizing
I made a huge mistake that cost me thousands, and I don't want you to do the same. I thought solar panels were a 'magic pill' for high power bills, but I was wrong. It turns out, putting solar on a drafty house is like pouring water into a bucket full of holes. Here is how I finally fixed my home’s energy leaks and why you should look at your insulation before you even call a solar installer.
My home felt breezy and drafty, especially in the upstairs hallway where the heat seemed to collect. I realized too late that my brand new solar panels were working overtime just to power an inefficient, poorly insulated house. I had put a high-tech engine into a car with a massive fuel leak, wasting thousands of dollars in the process.
Many families struggle to keep their indoor spaces at a comfortable temperature, shivering in winter and sweating in summer. They feel completely helpless as they realize their expensive solar investment is not solving their core discomfort. The drafty windows and uninsulated roofs remain a physical barrier to true energy freedom.
It is incredibly draining to feel like you are fighting a losing battle against the outdoor elements. You want to live a green, sustainable life, but your home's structure is actively working against you. This mismatch between solar power and home efficiency is a highly common mistake that drains both your peace of mind and your bank account.
Thankfully, you do not have to repeat the same painful mistake that I made. By focusing on smart, affordable insulation upgrades before you buy solar panels, you can secure true comfort and massive savings. Let us look at why building a tight thermal barrier is the smartest first step on your energy journey.
The Thermal Envelope: How Insulation and Solar Power Work Together
### ⚡ Quick Summary: How to Save $5,000+ on Solar
If you're in a hurry, here is the secret to getting solar right:
- Fix Leaks First: Seal your windows and doors before buying panels.
- Insulation is Cheaper: Spending $2k on insulation can save you $10k on a smaller solar system.
- The Attic is King: Most of your heat comes through the roof; start your upgrades there.
- Audit Your Home: Get a professional to find where your 'clean energy' is leaking out.
Your home's thermal envelope is the barrier that keeps conditioned air inside and outdoor air outside. When this envelope is weak, your heating and cooling systems must work twice as hard to maintain a stable temperature. This extra work translates directly into higher energy consumption and larger utility bills.
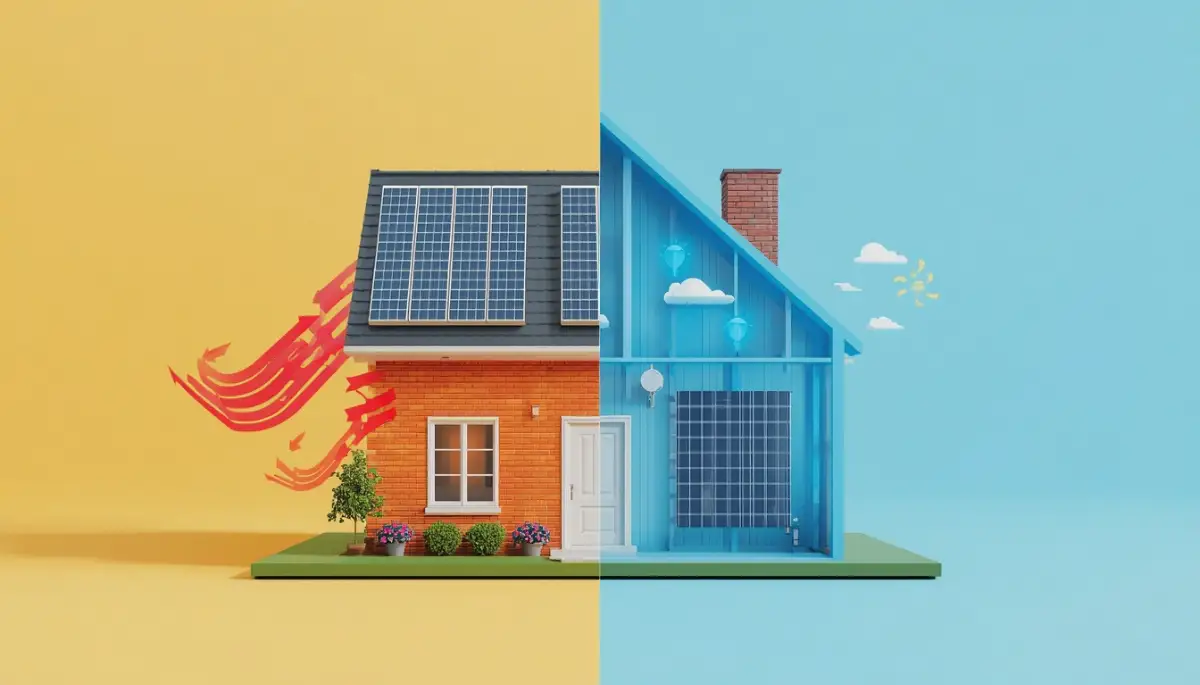
Solar panels are designed to produce clean electricity, but they do not reduce the amount of energy your home actually needs. If your home has poor insulation, you will need a much larger, more expensive solar system to cover your high electricity usage. Upgrading your insulation first allows you to buy a smaller, more affordable solar array.
| Feature | Uninsulated House (My Mistake) | Insulated House (The Right Way) |
| :--- | :--- | :--- |
| Solar System Size | 10kW - 12kW (Huge & Costly) | 5kW - 7kW (Smaller & Cheaper) |
| AC Running Time | Almost 24/7 | Cycles on/off properly |
| Upfront Cost | $25,000+ | $12,000 (Solar) + $2,500 (Insulation) |
| Indoor Comfort | Hot spots and cold drafts | Even temperature everywhere |
This sequence of upgrades ensures that you get the maximum value from every single solar panel on your roof. You prevent clean energy from being wasted on empty drafts and unsealed spaces. It is the most logical and cost-effective way to transition to green energy.
High-Impact Insulation Areas to Upgrade Before Your Solar Installation
Battling Attic Heat: Laying Down Thick Protective Blankets
The attic is the single most important area to focus on when upgrading your home insulation. During hot summer days, attic temperatures can rise to high levels, baking the rooms directly underneath. Thick insulation acts like a protective shield, keeping this intense heat from entering your living spaces.
Check your current attic insulation levels using a simple tape measure to see if they meet local recommendations. If you can see the wooden floor joists, your insulation is far too thin and needs an immediate boost. Adding fiberglass or cellulose blankets will dramatically lower your cooling needs.
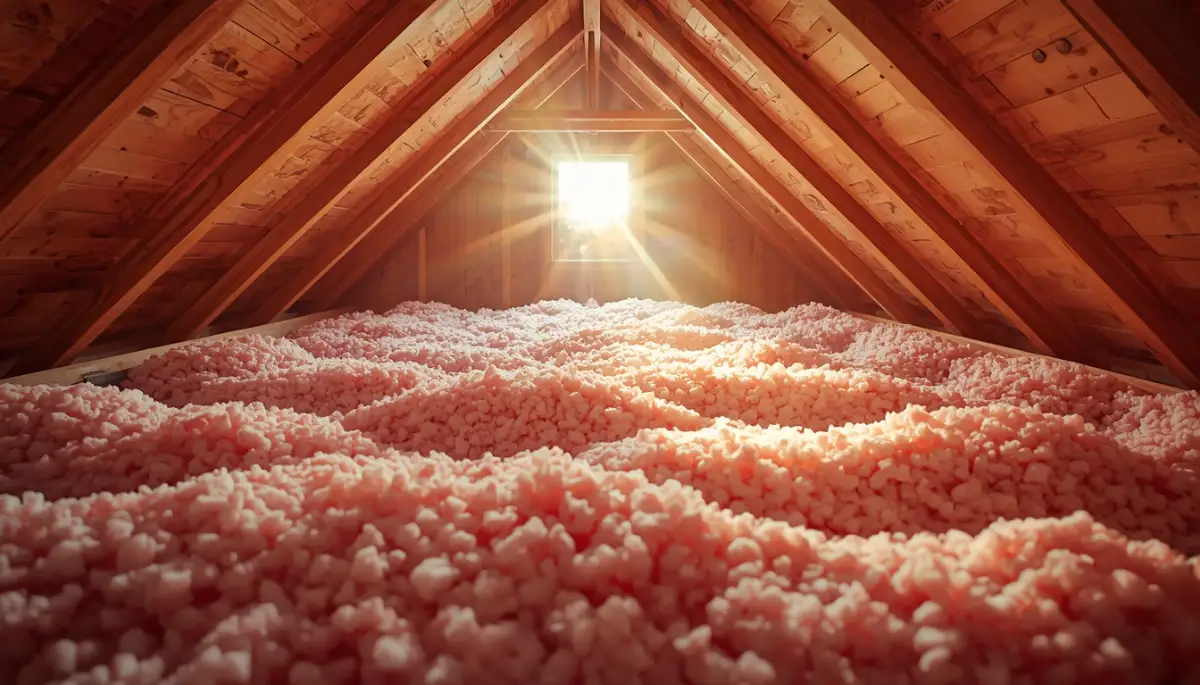
Applying this thick barrier stops the upward escape of heat during winter as well. This makes your heating system much more efficient and keeps your home warm and cozy. It is a highly effective, year-round solution for your comfort.
Pro Tip: When I first went up to inspect my attic, I wore a basic t-shirt and no face mask, which was a terrible mistake. The loose fiberglass fibers made my skin itch for days and irritated my throat. Always wear protective clothing, gloves, and a high-quality dust mask before handling insulation materials.
Sealing Wall Cavities: Stopping Hidden Drafts Between Studs
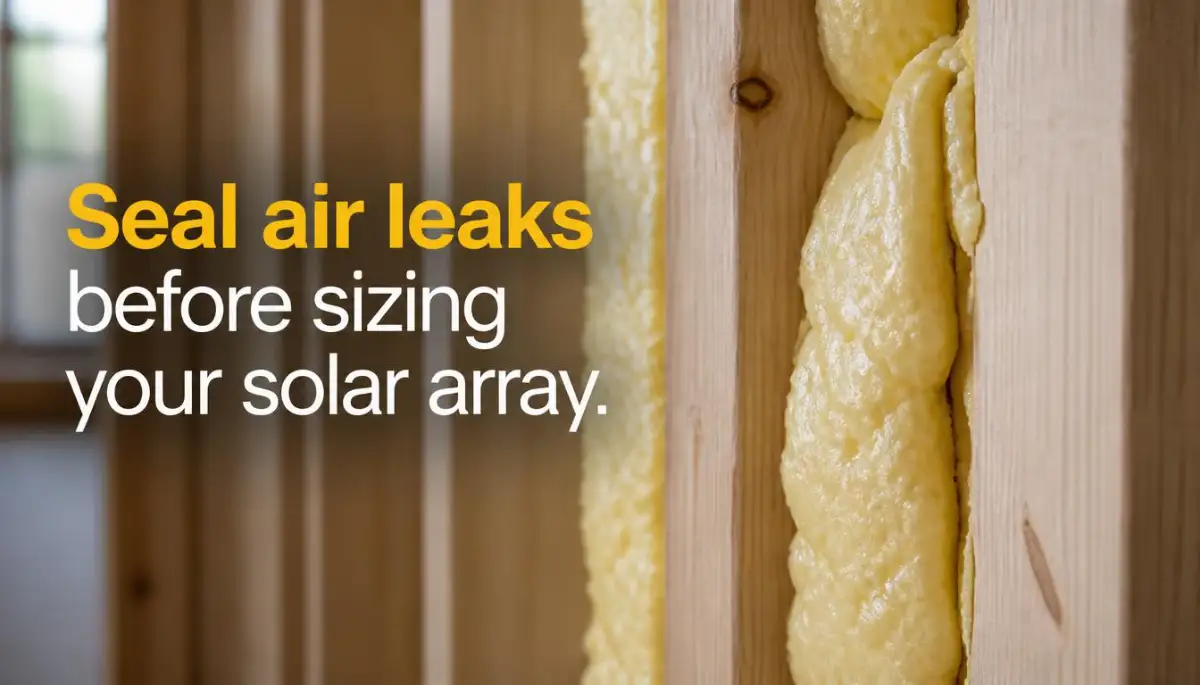
Exterior walls are another major source of heat loss and gain in older residential homes. If your walls feel cold to the touch in winter or warm in summer, the internal insulation has likely settled or decayed. Injecting loose-fill cellulose or spray foam into the wall cavities can seal these hidden gaps.
This upgrade does not require tearing down your drywall or ruining your interior paint. Professional technicians can drill small, hidden holes from the outside to fill the empty wall studs completely. It is a highly effective way to create a quiet, comfortable indoor environment.
Properly insulated walls also act as a sound barrier, keeping outside street noise from entering your home. It creates a peaceful sanctuary while quietly slashing your daily heating and cooling costs. The long-term savings on your energy bills make this wall upgrade highly valuable.
Plugging the Leaks: Stopping Air Movement Around Windows and Doors
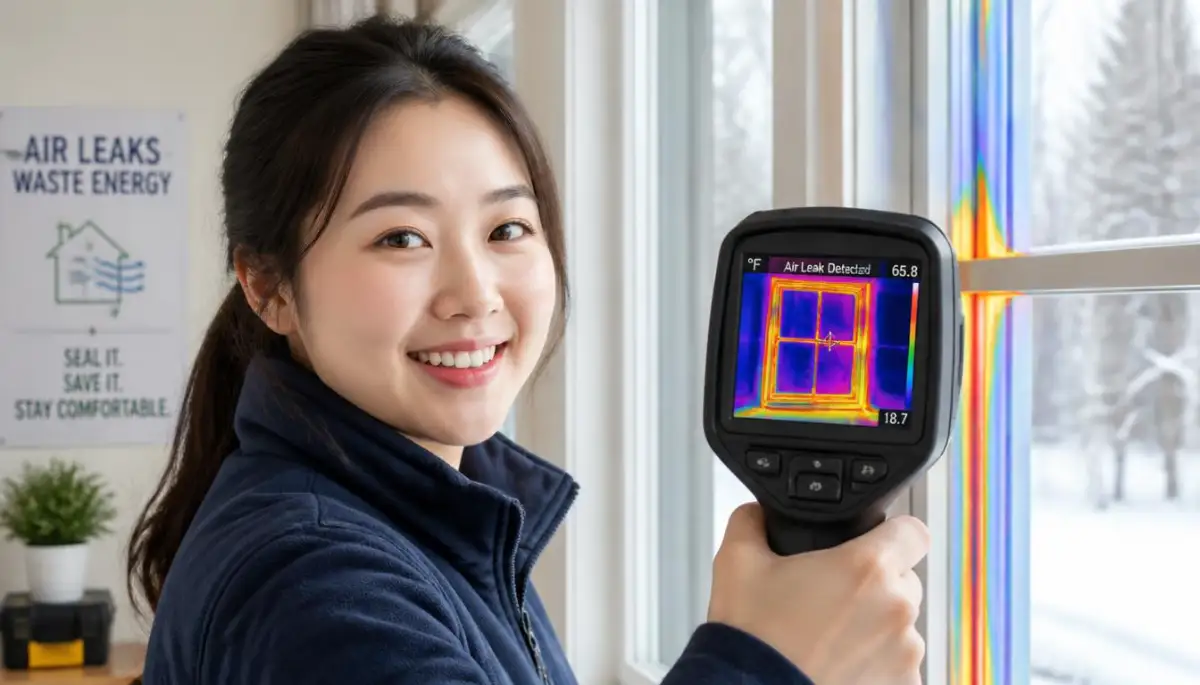
Even thick insulation cannot work properly if outside air is constantly leaking through small gaps. Drafts around old window frames and exterior doors behave like tiny open vents in your house. Sealing these gaps with silicone caulk and weatherstripping is an easy, low-cost upgrade.
Run a simple draft test by holding a lit incense stick near your closed windows on a windy day. If the smoke blows sideways, you have a clear air leak that needs immediate attention. Sealing these leaks prevents conditioned air from escaping, lowering your overall solar sizing needs.
You can complete this sealing project yourself over a single weekend with basic tools. It provides immediate results that you will feel in the air quality of your rooms. It is one of the cheapest ways to boost your home energy efficiency.
Crawl Space Coverings: Blocking Earthly Cold from Rising Upward
Uninsulated crawl spaces and basements can draw freezing cold air up through your floorboards during winter. This creates cold floors that make your entire home feel chilly, even when the heater is running. Laying a heavy plastic vapor barrier on the dirt floor stops this damp cold at the source.
You should also insulate the crawl space walls or the underside of your floor joists with rigid foam boards. This extra layer of protection keeps your home's foundation warm and dry throughout the changing seasons. It is an often-overlooked upgrade that provides massive thermal benefits.
Protecting your crawl space also keeps mold and pests from invading your subfloor areas. It improves the overall structural health of your house while lowering your energy footprint. Your home becomes safer, cleaner, and much easier to heat or cool.
The Financial Math: How Insulation Lowers Your Total Solar System Cost
Understanding System Sizing and Panel Count Requirements
Solar installation companies determine the size of your solar array based on your historical electricity usage. If your uninsulated home uses high amounts of power, the installer will design a large system with many panels. This larger setup increases your upfront equipment and installation costs significantly.
By upgrading your insulation first, you can drop your daily electricity usage by up to thirty percent. This drop allows the solar technician to design a much smaller system with fewer solar panels. The money you save on the smaller solar array will easily cover the cost of your insulation upgrades.
This balanced approach saves you money from day one of your solar journey. You avoid paying for extra panels and inverters that you do not actually need. It is a smart financial strategy that maximizes your return on investment.
The Double Return on Investment: Comfort and Clean Energy
Upgrading your insulation provides an immediate return on investment by lowering your energy bills even before your solar panels are installed. Once the solar system is running, the combination of high efficiency and clean power maximizes your savings. It is a highly powerful strategy that creates a comfortable, low-cost household.
This smart sequence of upgrades also increases the overall market value of your residential property. Home buyers look for properties that are both solar-powered and highly energy-efficient. You are building long-term equity while enjoying lower daily living costs.
Investing in your thermal barrier is a permanent upgrade that never degrades or requires electronic repairs. Unlike solar inverters that eventually need replacement, high-quality insulation works quietly for decades without any maintenance. It is the most reliable anchor for your green home strategy.
Quick Reality Check: The 'Hand Test'
Go to your attic and touch the ceiling. Now, touch a wall that faces the sun. If they feel significantly hotter than the air in the room, your insulation is failing. I spent months blaming my AC, but the real enemy was the heat soaking through the drywall. If your walls are warm to the touch, no amount of solar panels will fix your comfort issues.
Energy Myths: Why Solar Alone Cannot Fix a Poorly Structured Home
To build a truly sustainable home, we must clear up common misconceptions about clean energy technology. Many homeowners make the mistake of rushing into solar because they do not understand how building science works. Let us look at the facts behind the most common energy myths.
- Myth: Installing more solar panels is always better than spending money on home insulation.
- Fact: Adding solar panels to an uninsulated home is a highly inefficient use of capital. You are paying for clean power just to watch it escape through your roof, which is a waste of natural resources.
- Myth: Modern double-pane windows are the only way to stop air leaks.
- Fact: While new windows are helpful, simple caulk and weatherstripping around existing frames can stop ninety percent of drafts for a fraction of the cost. Focus on sealing leaks before replacing expensive window systems.
- Myth: Insulation is only useful during freezing winter climates.
- Fact: Quality insulation is equally important in hot summer climates because it keeps blazing outdoor heat from entering your air-conditioned rooms. It is an evergreen solution that works for you every single day of the year.
Measuring Your Current Home Efficiency Levels
Scheduling a Professional Home Energy Audit
A professional energy audit is the absolute best way to locate the weak spots in your home's thermal envelope. Certified auditors use specialized blower door tests and thermal imaging cameras to find hidden drafts. This scientific approach removes the guesswork from your home improvement plans.
The auditor will provide a detailed report showing exactly where your home is losing energy and which upgrades to prioritize. This report helps you spend your budget on the areas that will provide the highest return. It is a smart, analytical first step toward true energy independence.
Many local utility companies offer these energy audits for free or at a highly discounted rate. It is worth calling your provider to see if you qualify for these efficiency programs. Gathering professional data ensures your home upgrades are highly targeted and successful.
Watch this informative video to see how a professional home energy audit reveals hidden drafts and insulation gaps.
Performing a Quick DIY Home Inspection
If you want to start immediately, you can perform a basic visual inspection of your home's insulation yourself. Look in your attic, crawl space, and around electrical outlets for signs of thin or decaying insulation. Check for gaps where plumbing pipes and electrical wires enter your walls.
These small opening points are common draft sources that can easily be sealed with expanding spray foam. Tackling these simple DIY repairs over the weekend can jumpstart your energy savings. Every small seal you make helps lower your future solar panels' power requirements.
Keep a checklist of every gap you find and seal them systematically. This hands-on approach connects you with your home's unique energy patterns. It prepares your property beautifully for the clean power of solar energy.
Advanced Thermal Strategies: Insider Secrets to Boost Your Home's Natural Efficiency
Neutralizing the Stack Effect in Multi-Level Homes
During cold winter months, warm air naturally rises to the highest points of your home and escapes through the roof. This upward movement of air creates a vacuum that pulls freezing air in through your lower-level doors and windows. This natural circulation of drafty air is known as the stack effect, and it can rapidly drain your home's warmth.
To stop this drafts cycle, you must seal the top and bottom of your house first. Focus on sealing the floor of your attic and the ceiling of your basement with expandable foam. You can study detailed R-value guidelines from the U.S. Department of Energy - Insulation resources to select the correct material thickness for your region.
When modifying your home insulation, you should also focus on eco-friendly lifestyle choices. You can easily do this by applying simple household swaps to shrink your plastic footprint easily to reduce chemical waste and plastic use in your daily routine. Combining these small habits with your home upgrades creates a cleaner, highly sustainable living space.
Overcoming Thermal Bridging in Wall Frames
Heat can travel directly through the solid wooden wall studs in your home, bypassing your insulation entirely. This direct path of heat transfer is called thermal bridging, and it can lower your overall wall efficiency by up to twenty percent. It often explains why certain rooms feel cold even when your wall cavities are packed with fiberglass insulation.
To block this thermal bridge, you can install a continuous layer of rigid foam sheathing over your wall frames. This continuous board creates an unbroken thermal break that stops heat from passing through the wooden studs. It is a highly effective way to protect your home's comfortable temperature and lower your heating costs.
Adding value to your property through insulation makes absolute financial sense. These upgrades protect your physical assets and help you increase your long-term wealth, which is a great concept covered in this first-time buyer guide understanding home equity and how to build it faster to build solid financial stability. A well-insulated house maintains its value far better because it is inexpensive to run.
The Role of Rainwater and Moisture Barriers
In humid climates, moisture can seep into your insulation and destroy its ability to trap quiet air. Wet insulation loses almost all of its thermal resistance and can encourage the growth of toxic black mold inside your walls. Installing a continuous vapor barrier on the warm side of your wall frames is necessary to block this moisture.
You should also check local environmental reports to understand how outdoor moisture impacts your building materials. Industrial areas often face problems with acid rain, and you can study the EPA Acid Rain Resources to see how acid deposition damages outdoor metallic and glass surfaces over time. Protecting your insulation from moisture ensures it stays fluffy, dry, and highly effective for decades.
Take the time to inspect your roof for minor leaks before adding new insulation layers. Even a tiny water drop can ruin a brand new roll of fiberglass batting in a few days. Keeping your thermal envelope dry is the secret to maintaining a warm, energy-efficient household.
Silent Energy Drains: The Costly Insulation Blunders Homeowners Make
Blocking Your Attic Soffit Vents
Many enthusiastic homeowners lay down thick layers of loose-fill insulation but accidentally cover their attic soffit vents. These vents are located under the eaves of your roof and allow fresh air to circulate through your attic space. Blocking them cuts off this natural air path, trapping hot, damp air directly under your roof shingles.
This trapped moisture causes wood rot in your roof deck and creates a breeding ground for destructive mold. In summer, the lack of air movement bakes your roof, causing your air conditioner to run continuously. It ruins your home's comfort and can cost thousands of dollars to repair.
Cutting corners on proper materials or ignoring ventilation rules is a terrible shortcut. It can drag you into a financial black hole, much like using safe emergency cash why payday loans cost too much and what to do instead because both offer temporary relief but end up costing massive interest and repair bills in the future. Always use plastic rafter baffles to keep your vents clear.
Stuffing Fiberglass Batting Too Tightly
Fiberglass insulation works by trapping tiny pockets of quiet air within its fluffy glass fibers. Many homeowners make the mistake of squeezing thick fiberglass batts into tight, narrow wall cavities. Compressing the insulation squeezes out these tiny air pockets, reducing its thermal resistance to almost nothing.
Instead of blocking heat, the squished insulation allows it to pass through your walls easily. Always trim your insulation blankets to fit the wall studs loosely without any folding or squishing. This loose fit ensures the fibers can expand fully and trap air effectively.
If mold grows in your ceilings because of bad insulation ventilation, the cost of remediation can shock you. It is a stressful event that can leave you completely panicked, just like being served with a civil lawsuit here is your immediate action plan when you have zero preparation. Take your time to measure and trim your materials with care.
Leaving the Attic Access Hatch Naked
It is incredibly common to see a beautifully insulated attic floor with a completely naked wood access hatch. An uninsulated plywood hatch behaves like a giant hole in your thermal envelope, letting warm air escape into your roof. This single unsealed spot can lower your entire attic's thermal efficiency by up to twenty-five percent.
To fix this leak, glue a thick piece of rigid foam board to the back of your attic hatch cover. You should also apply self-adhesive weatherstripping tape around the edges of the hatch frame to stop drafts completely. This quick, low-cost fix ensures your thermal barrier remains continuous across your entire ceiling.
Research conducted by the Oak Ridge National Laboratory shows that even minor gaps in your building envelope can lead to huge heating losses. Sealing these small entry points is just as important as laying down thick insulation rolls. Every gap you close keeps your hard-earned money inside your living rooms.
Taking Control of Your Clean Energy Path: A Clear Road Map
Your Action Plan for Tomorrow
Upgrading your home's thermal barrier is a highly satisfying project that pays immediate dividends. By starting with a simple home inspection and sealing obvious drafts, you prepare your property for future solar success. You do not need to do every single upgrade at once; focus on your attic first, then move to your walls.
Managing these upgrades requires a smart approach to your cash flow. You can keep your project costs balanced by using smart budgeting methods for self-employed pros with unstable income to track your home improvement expenses without stress. This smart planning ensures you stay financially healthy while building a green, self-sufficient household.
Once your home is tightly sealed and highly insulated, you can confidently call solar installers to design your system. You will be amazed at how few panels you need to power your ultra-efficient home. It is a highly empowering transition that keeps your energy bills low for many years to come.
I want you to know that the effort you put into insulating your home is the best foundation for a self-sufficient life. Every time my quiet air conditioner shuts off because my home holds its cool air, I feel a deep sense of accomplishment. I hope my guides help you save money, build comfort, and take complete control of your energy future starting today.
Your Pressing Home Insulation and Solar Questions Answered
Can I add new insulation directly on top of my old, dusty insulation?
Yes, you can lay down new fiberglass or cellulose insulation directly over your old insulation as long as it is dry and free of mold. However, you must perform any necessary air sealing with spray foam before you cover up the floor boards. If the old insulation is damp, dirty, or compressed, it is best to remove it completely to protect your home's air quality.
How do I know if my house already has enough insulation for solar panel prep?
You can easily check your insulation by looking at the joists in your attic floor. If the insulation sits below or level with the wooden joists, you definitely need to add more layers to meet modern efficiency standards. Studies from the Lawrence Berkeley National Laboratory suggest that upgrading thin insulation is the most cost-effective way to prepare residential buildings for renewable energy systems.
Will upgrading my home insulation also help reduce outdoor noise levels?
Yes, high-quality insulation materials like stone wool and thick fiberglass are highly effective at absorbing sound waves. Sealing air leaks around your windows and packing your wall cavities with insulation will dramatically lower the street noise entering your home. It creates a much quieter, more peaceful indoor environment while quietly slashing your utility bills.
How does expanding spray foam compare to traditional fiberglass blankets?
Spray foam insulation expands to fill every tiny crack and gap, providing an airtight seal and insulation in a single step. It has a much higher R-value per inch than fiberglass, making it excellent for tight spaces or drafty walls. However, spray foam is significantly more expensive to install and usually requires professional application, while fiberglass blankets are highly affordable and DIY-friendly.
How can I manage these insulation upgrade costs if I am also paying off a mortgage?
Balancing your home renovation costs while dealing with mortgages can feel tricky. If you are handling career transitions at the same time, learning job change during mortgage how to keep your home loan approved will help keep your financial standing secure. You can also look into local government grants and utility rebates that help offset the upfront costs of energy efficiency upgrades.
Disclaimer: This article is for informational and educational purposes only. Home renovation, attic insulation, and working with building materials carry physical and health risks. Always consult with a licensed contractor, a professional building auditor, and local code officials before attempting any major structural modifications to your home. The author and website assume no liability for personal injury or property damage resulting from the use of this guide.